Materials:
Kistka (drawing tool used to apply hot wax onto egg)
Bees wax
Aniline Dye (a non edibile dye used specifically for pysanky)
Blasfix (tool used to remove yolk from egg
Findings (for top of egg to cover hole from removing yolk)
Clear varnis (to add shine to the egg)
The kistka is similar to a pen or a pencil, however it has a funnel at the end that bees wax can placed. It melts the wax, and the wax acts as the drawing medium.
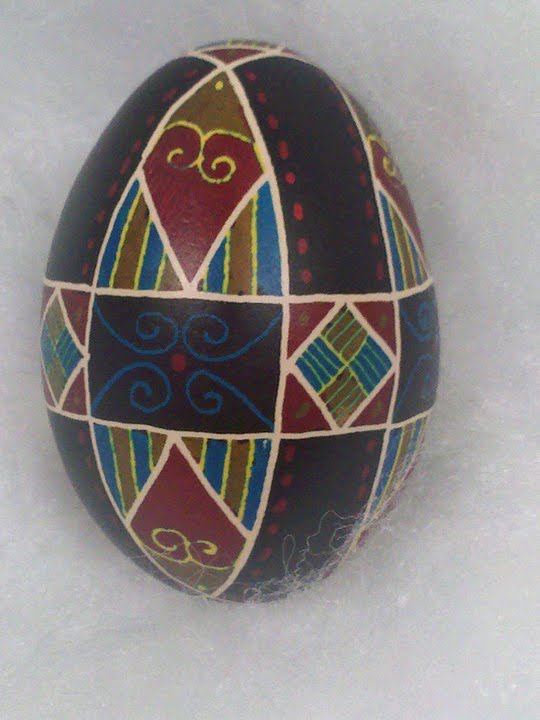
Typical eggs are created with multiple colors, using traditional designs. However, I like doing my own little thing with the eggs (whatever that may be). And the eggs I have posted are only designed with one dye color--the white being the egg shell itself.
While the egg is white, I divide the egg in half using the kistka tool. I then will proceed to divide it into 1/4, 1/8, or greater divides. I draw designs that I want to be in white. Once I draw the designs like I want, I will dip the egg in yellow dye. Remove the egg, draw on all areas with wax that I want to be yellow and then place the egg in another colored dye. I repeat the process with 3-4 colors and end the final phase of dying with a black dye.
Once I have completed the dye process, I have to melt off the wax. I hold the egg about an inch away from a candle flame to heat up the wax, then I wipe off the melted wax with a paper towel. I repeat this process until there is no wax remaining.
After the wax is removed, I coat with a very thin layer of clear varnish. Let it dry. I then remove the yolk from the egg. After the yolk is removed, I coat with another 2-3 layers of varnish--depending on how shiney I want the egg to be.
If you are interested in the process, you can look up Pysanky. There are several great tutorials out there. The process is wonderful and you never know what you are going to come up with until the final removal of the bees wax.
I hope this has sparked some interest. If you have any other questions, feel free to ask...Deanna